

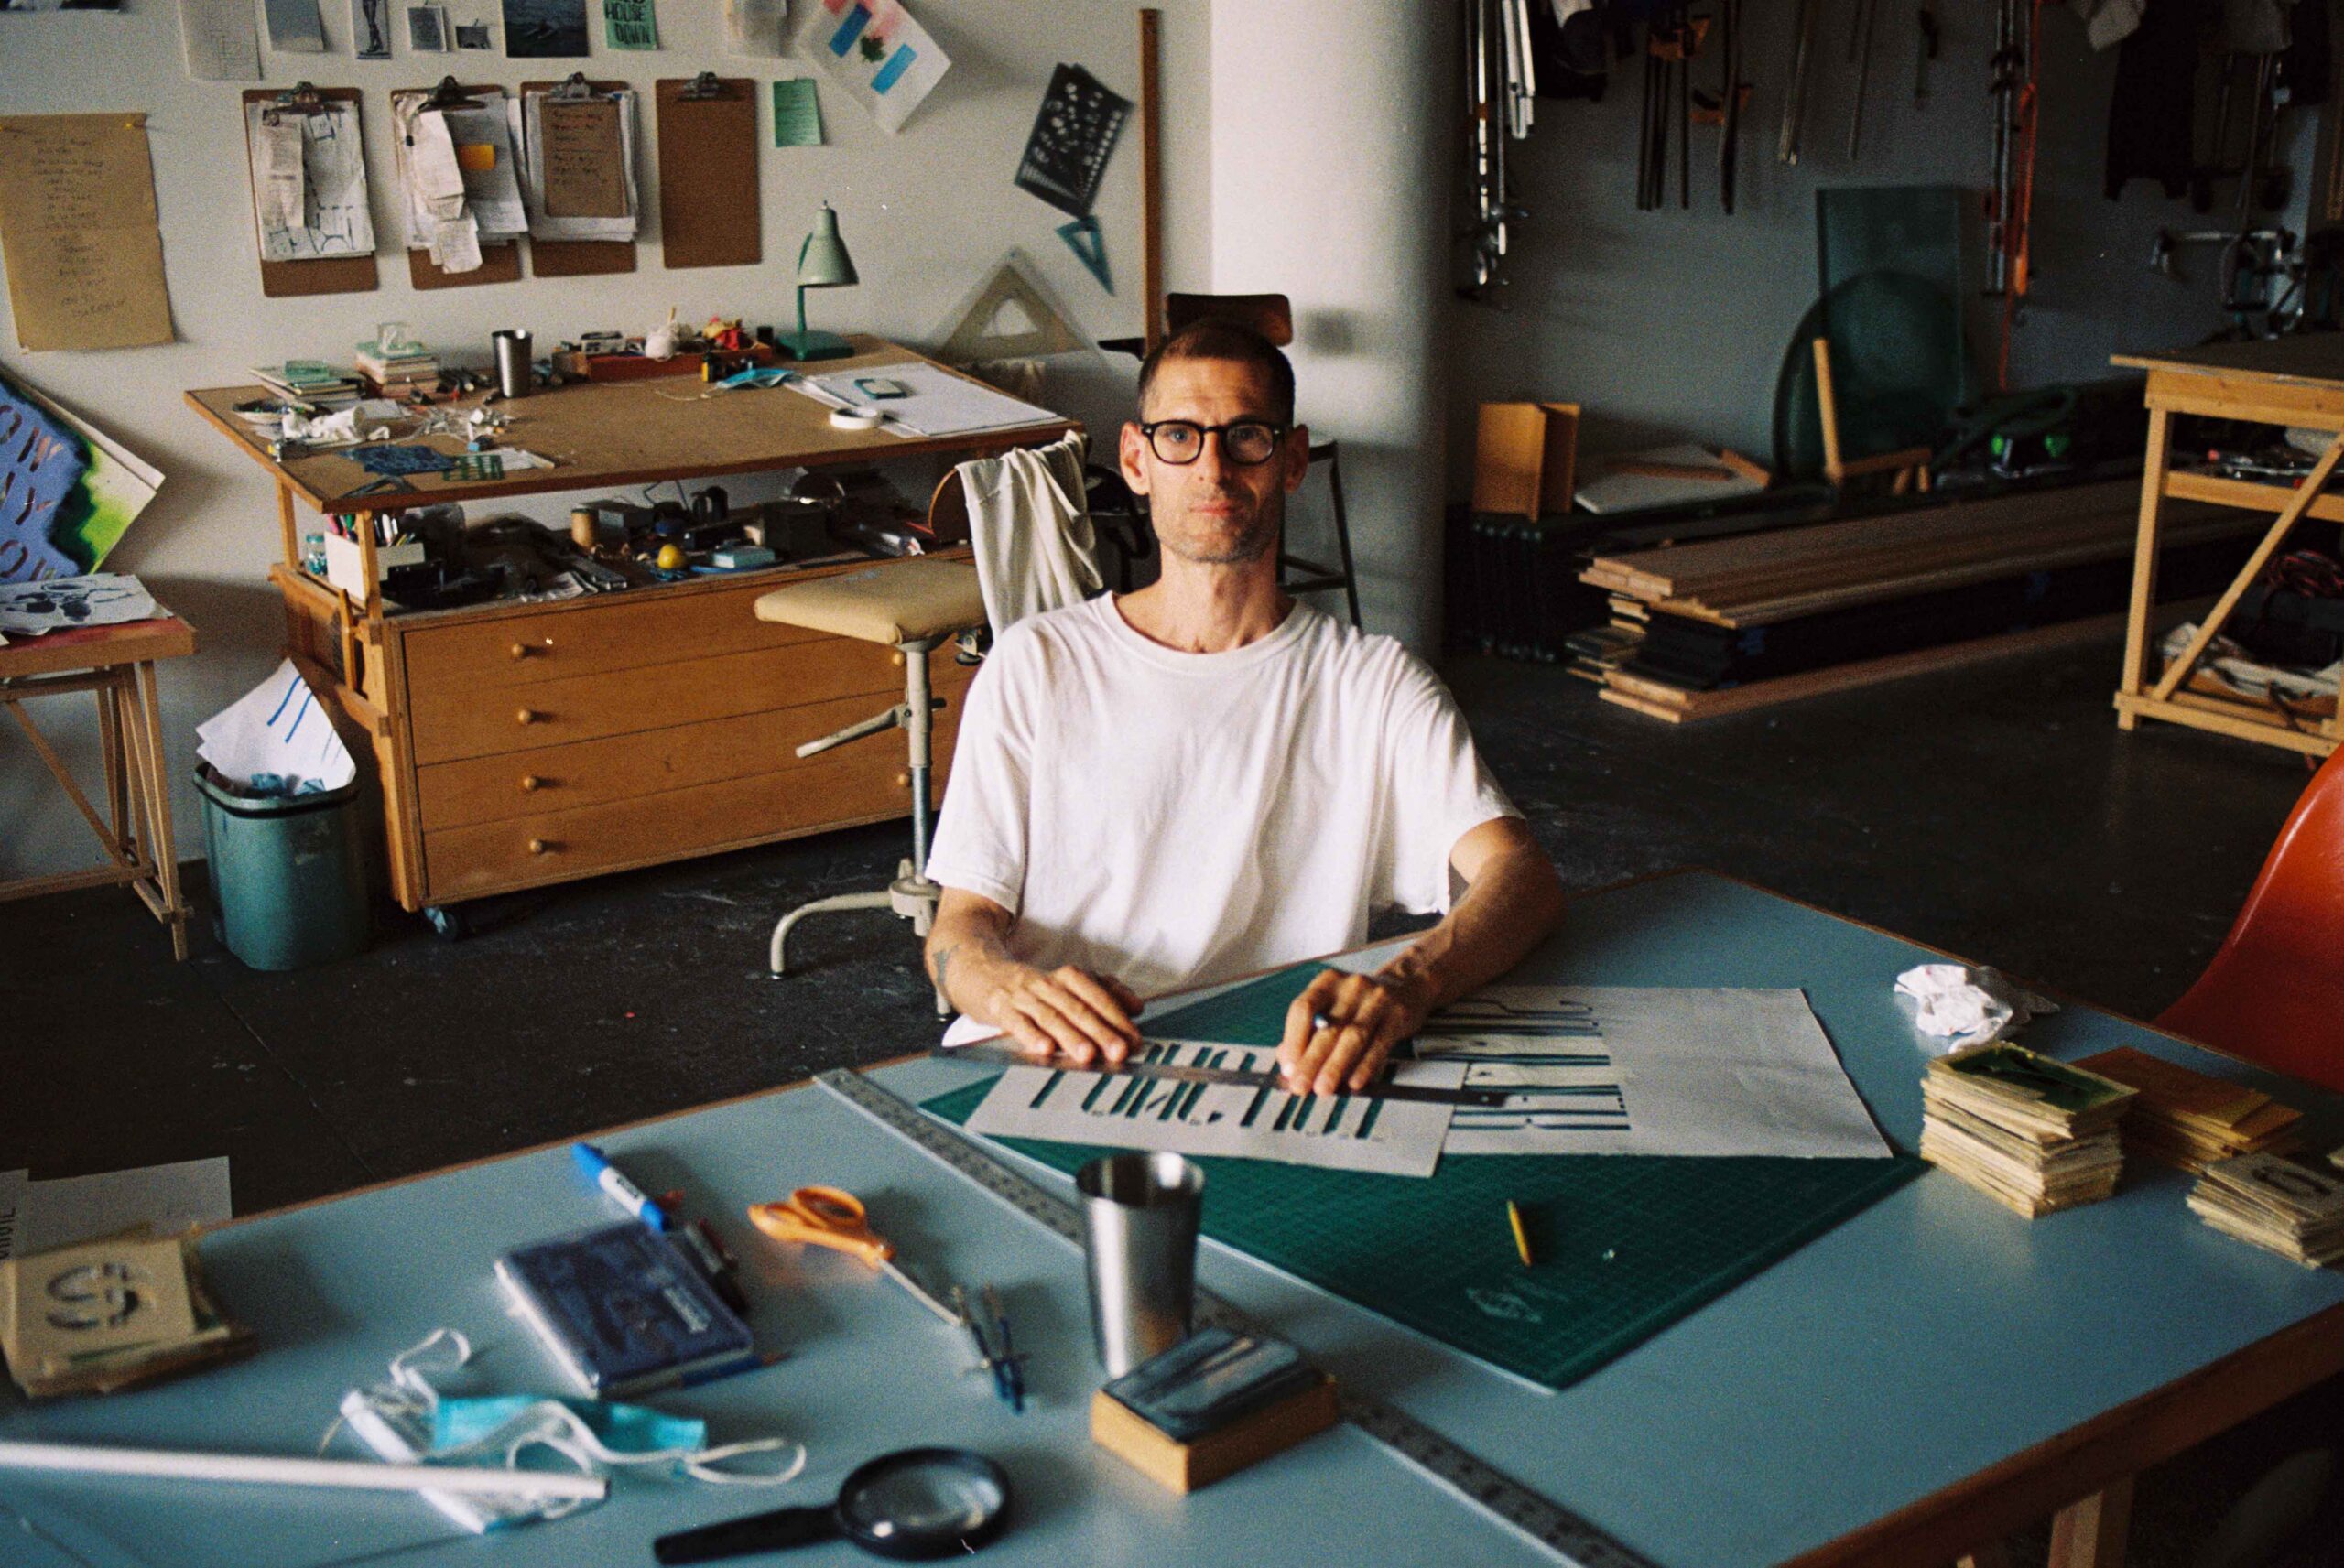
I moved to New York in the August of 1993. It was the era of the slacker and I felt right at home. For me and my friends, career goals were non-existent. Sure we all had to work, but it was to live – we didn’t live to work. In the present day, my job has settled into a flexible but reassuring pattern. My work consists of painting, printing posters and other art objects and designing/building furniture for exhibition, commercial work, artist collaboration or one-off spaces. It wasn’t always this way, though. It’s a profession formed by trial and error.
My first job was modelling for Steven Meisel for American Vogue with my twin brother, Ian. It was while we were still in Toronto and it got us to New York. I started working at a shoe store on 8th Street immediately, going on to intern at Michael Kors, assist an artist in Brooklyn and later became a still-life photographer. It was while doing this that I learnt to build sets for photo shoots and make art. After six years I quit this job to be a carpenter and make furniture for friends’ apartments.
 I was thrilled to be in New York. There was still that feeling you could be whatever you wanted, ignoring any need to define yourself. Rudolph Giuliani was mayor at the time and clubs were shutting down. It was all in an effort to clean up New York – aka make money – by enforcing laws buried in time, like the cabaret licence. “No dancing” signs went up above jukeboxes so the bar wouldn’t get fined for flouting these new rules. The music we went out to changed because of this, from beat-based dance to song-based stuff. We still managed to dance, but not in the same way. I think that bars just paid the fines or figured out how they could get around these draconian regulations. There was punk music at Squeezebox and Green Door, and Smiths nights at Sway. Dancing into the next day went away though, even the drugs that were around changed.
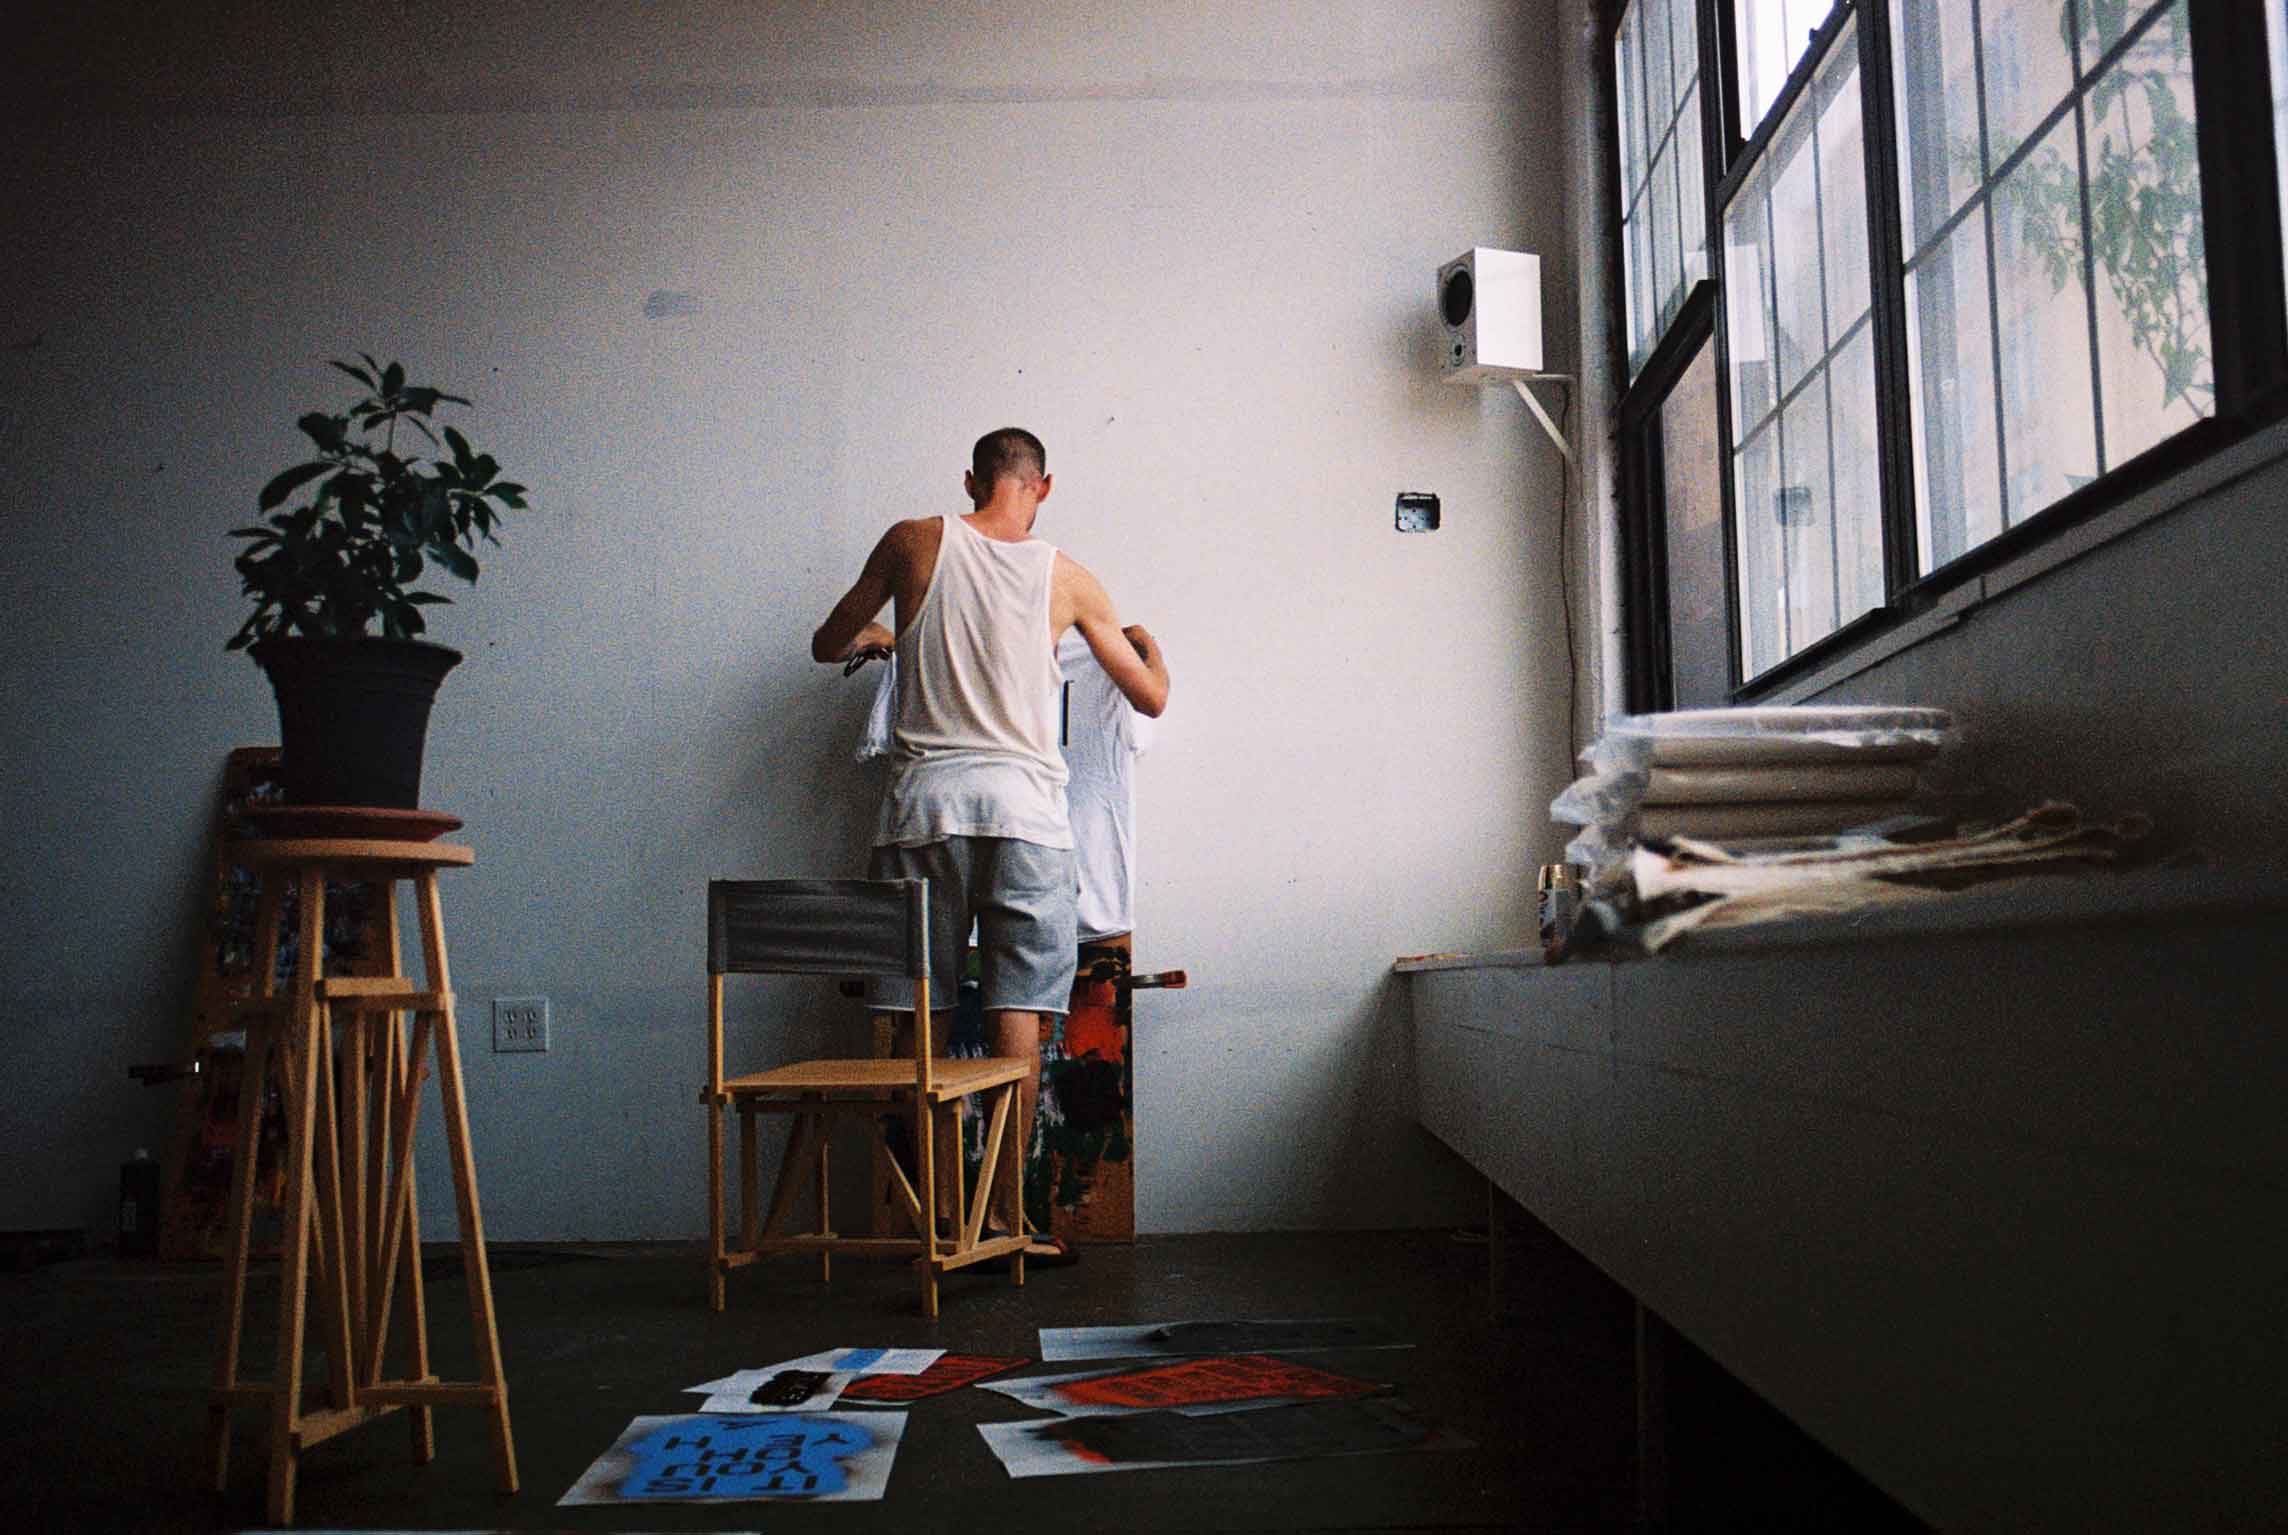
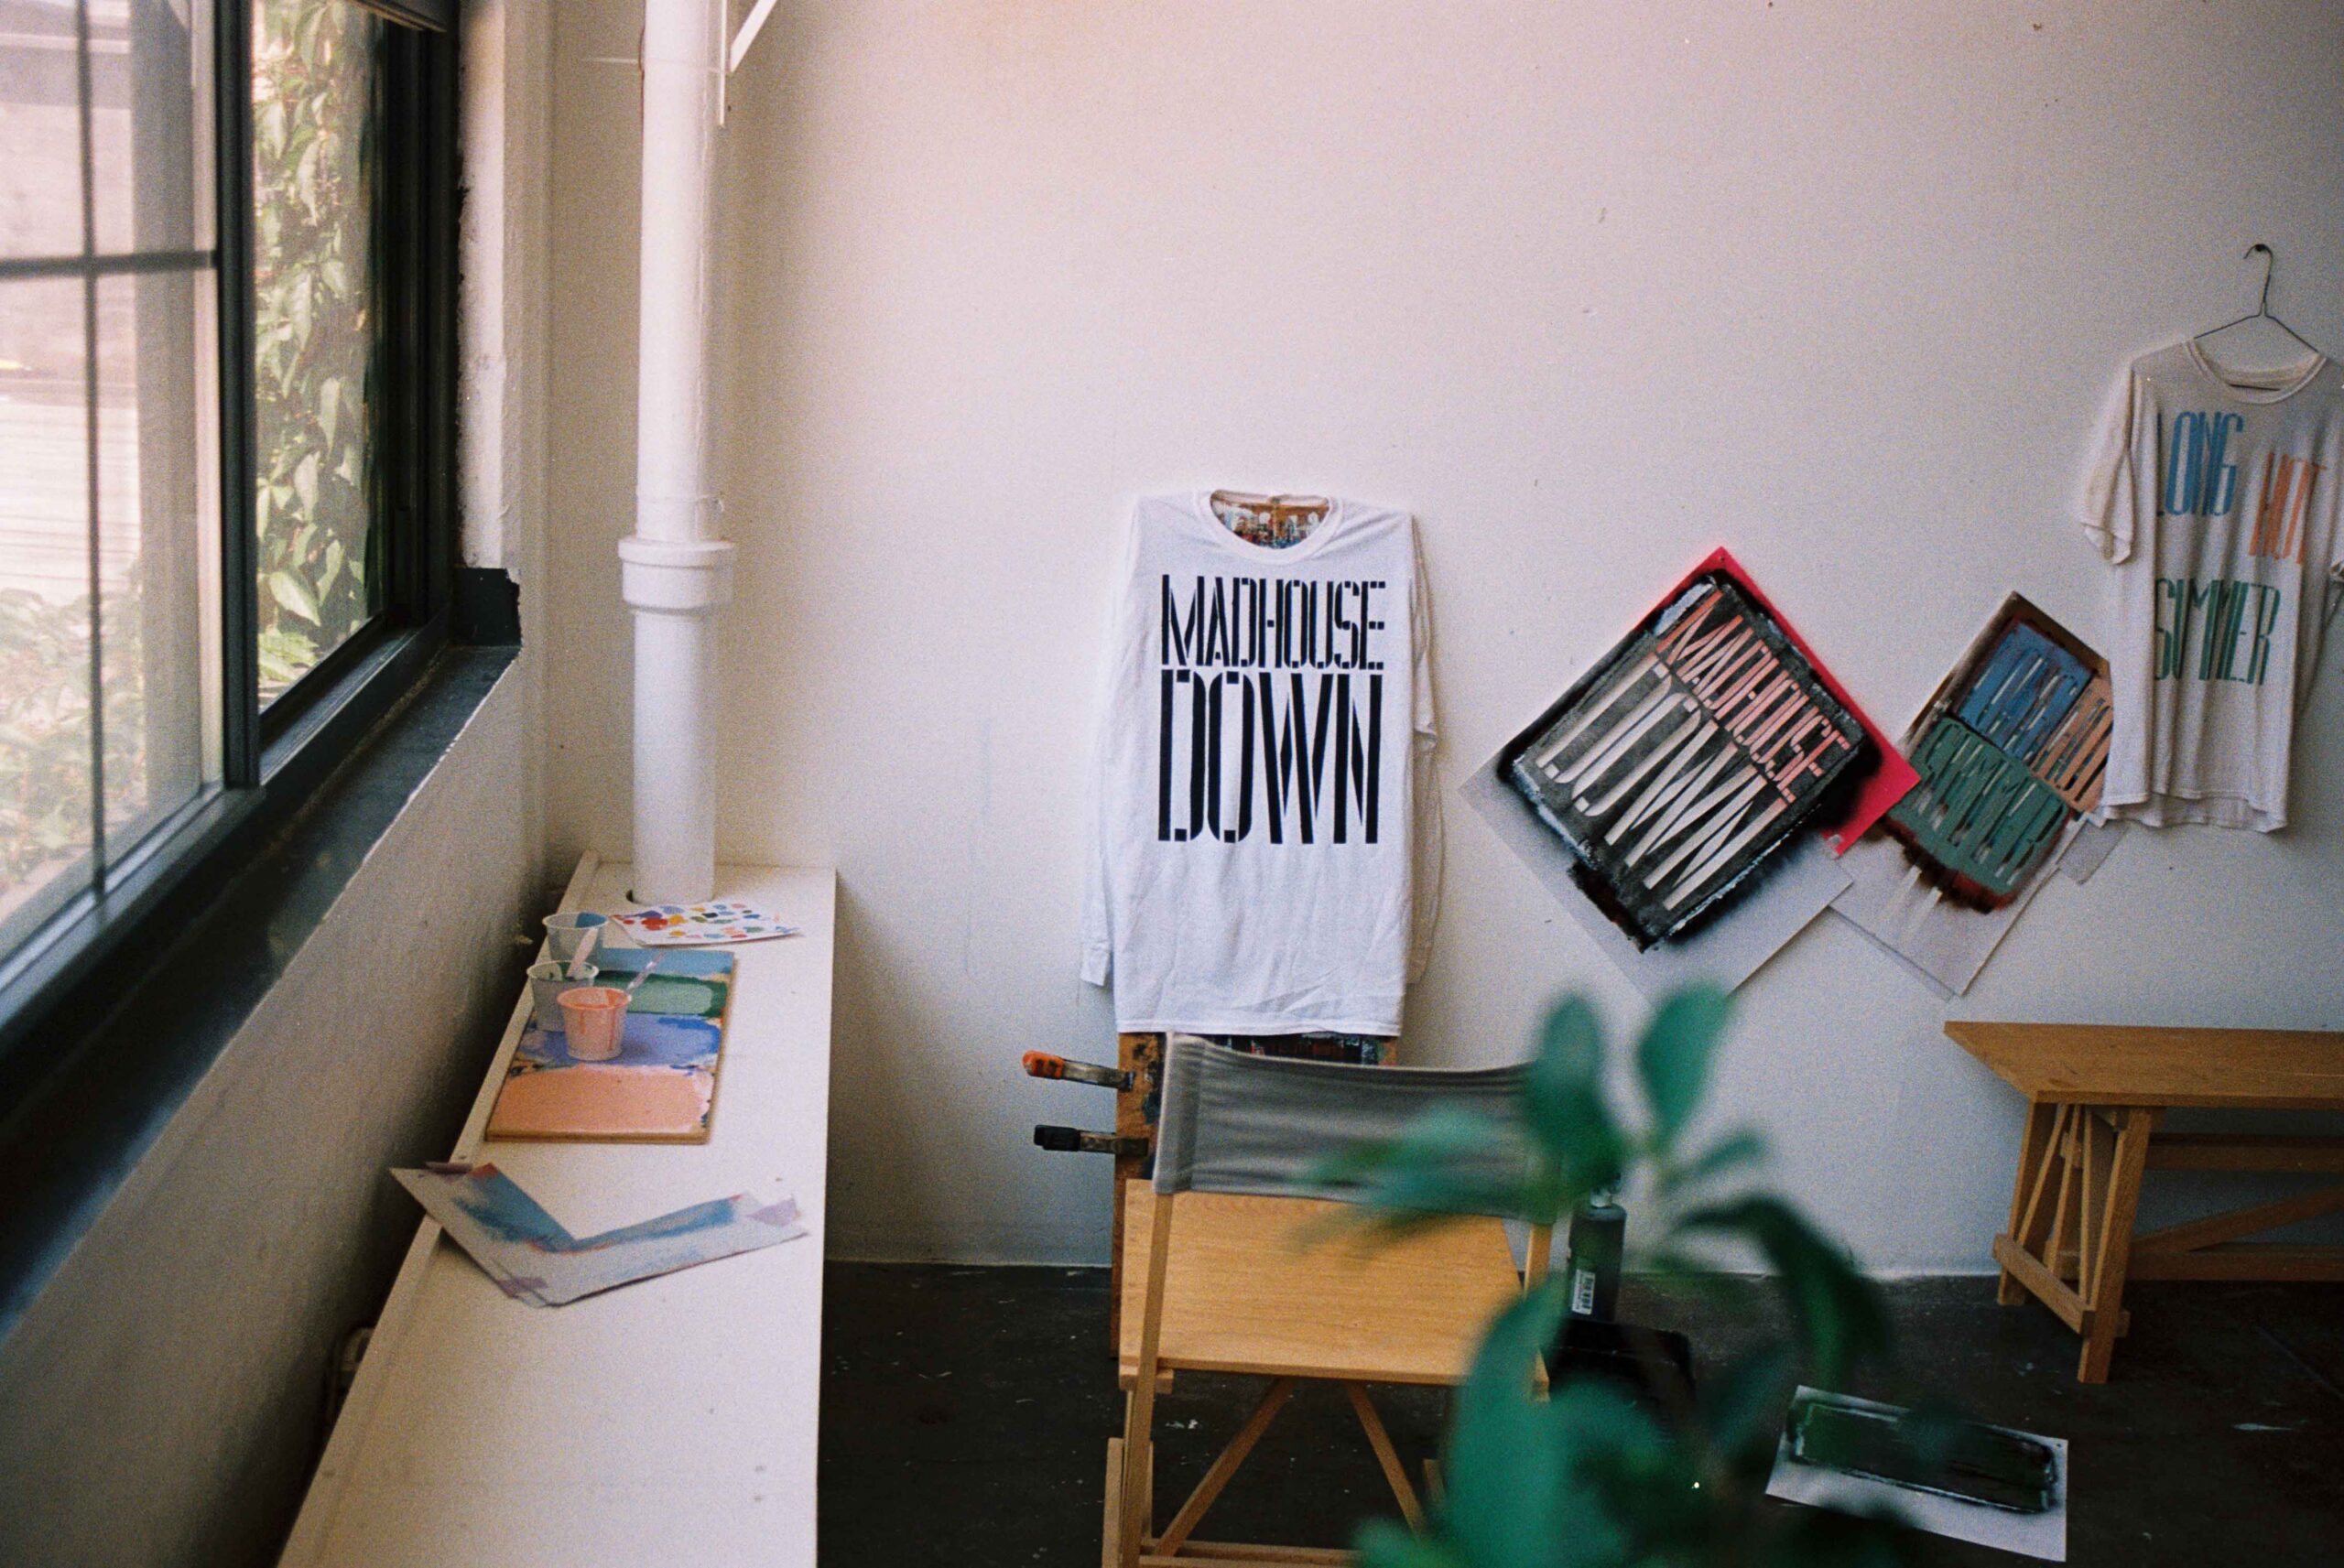
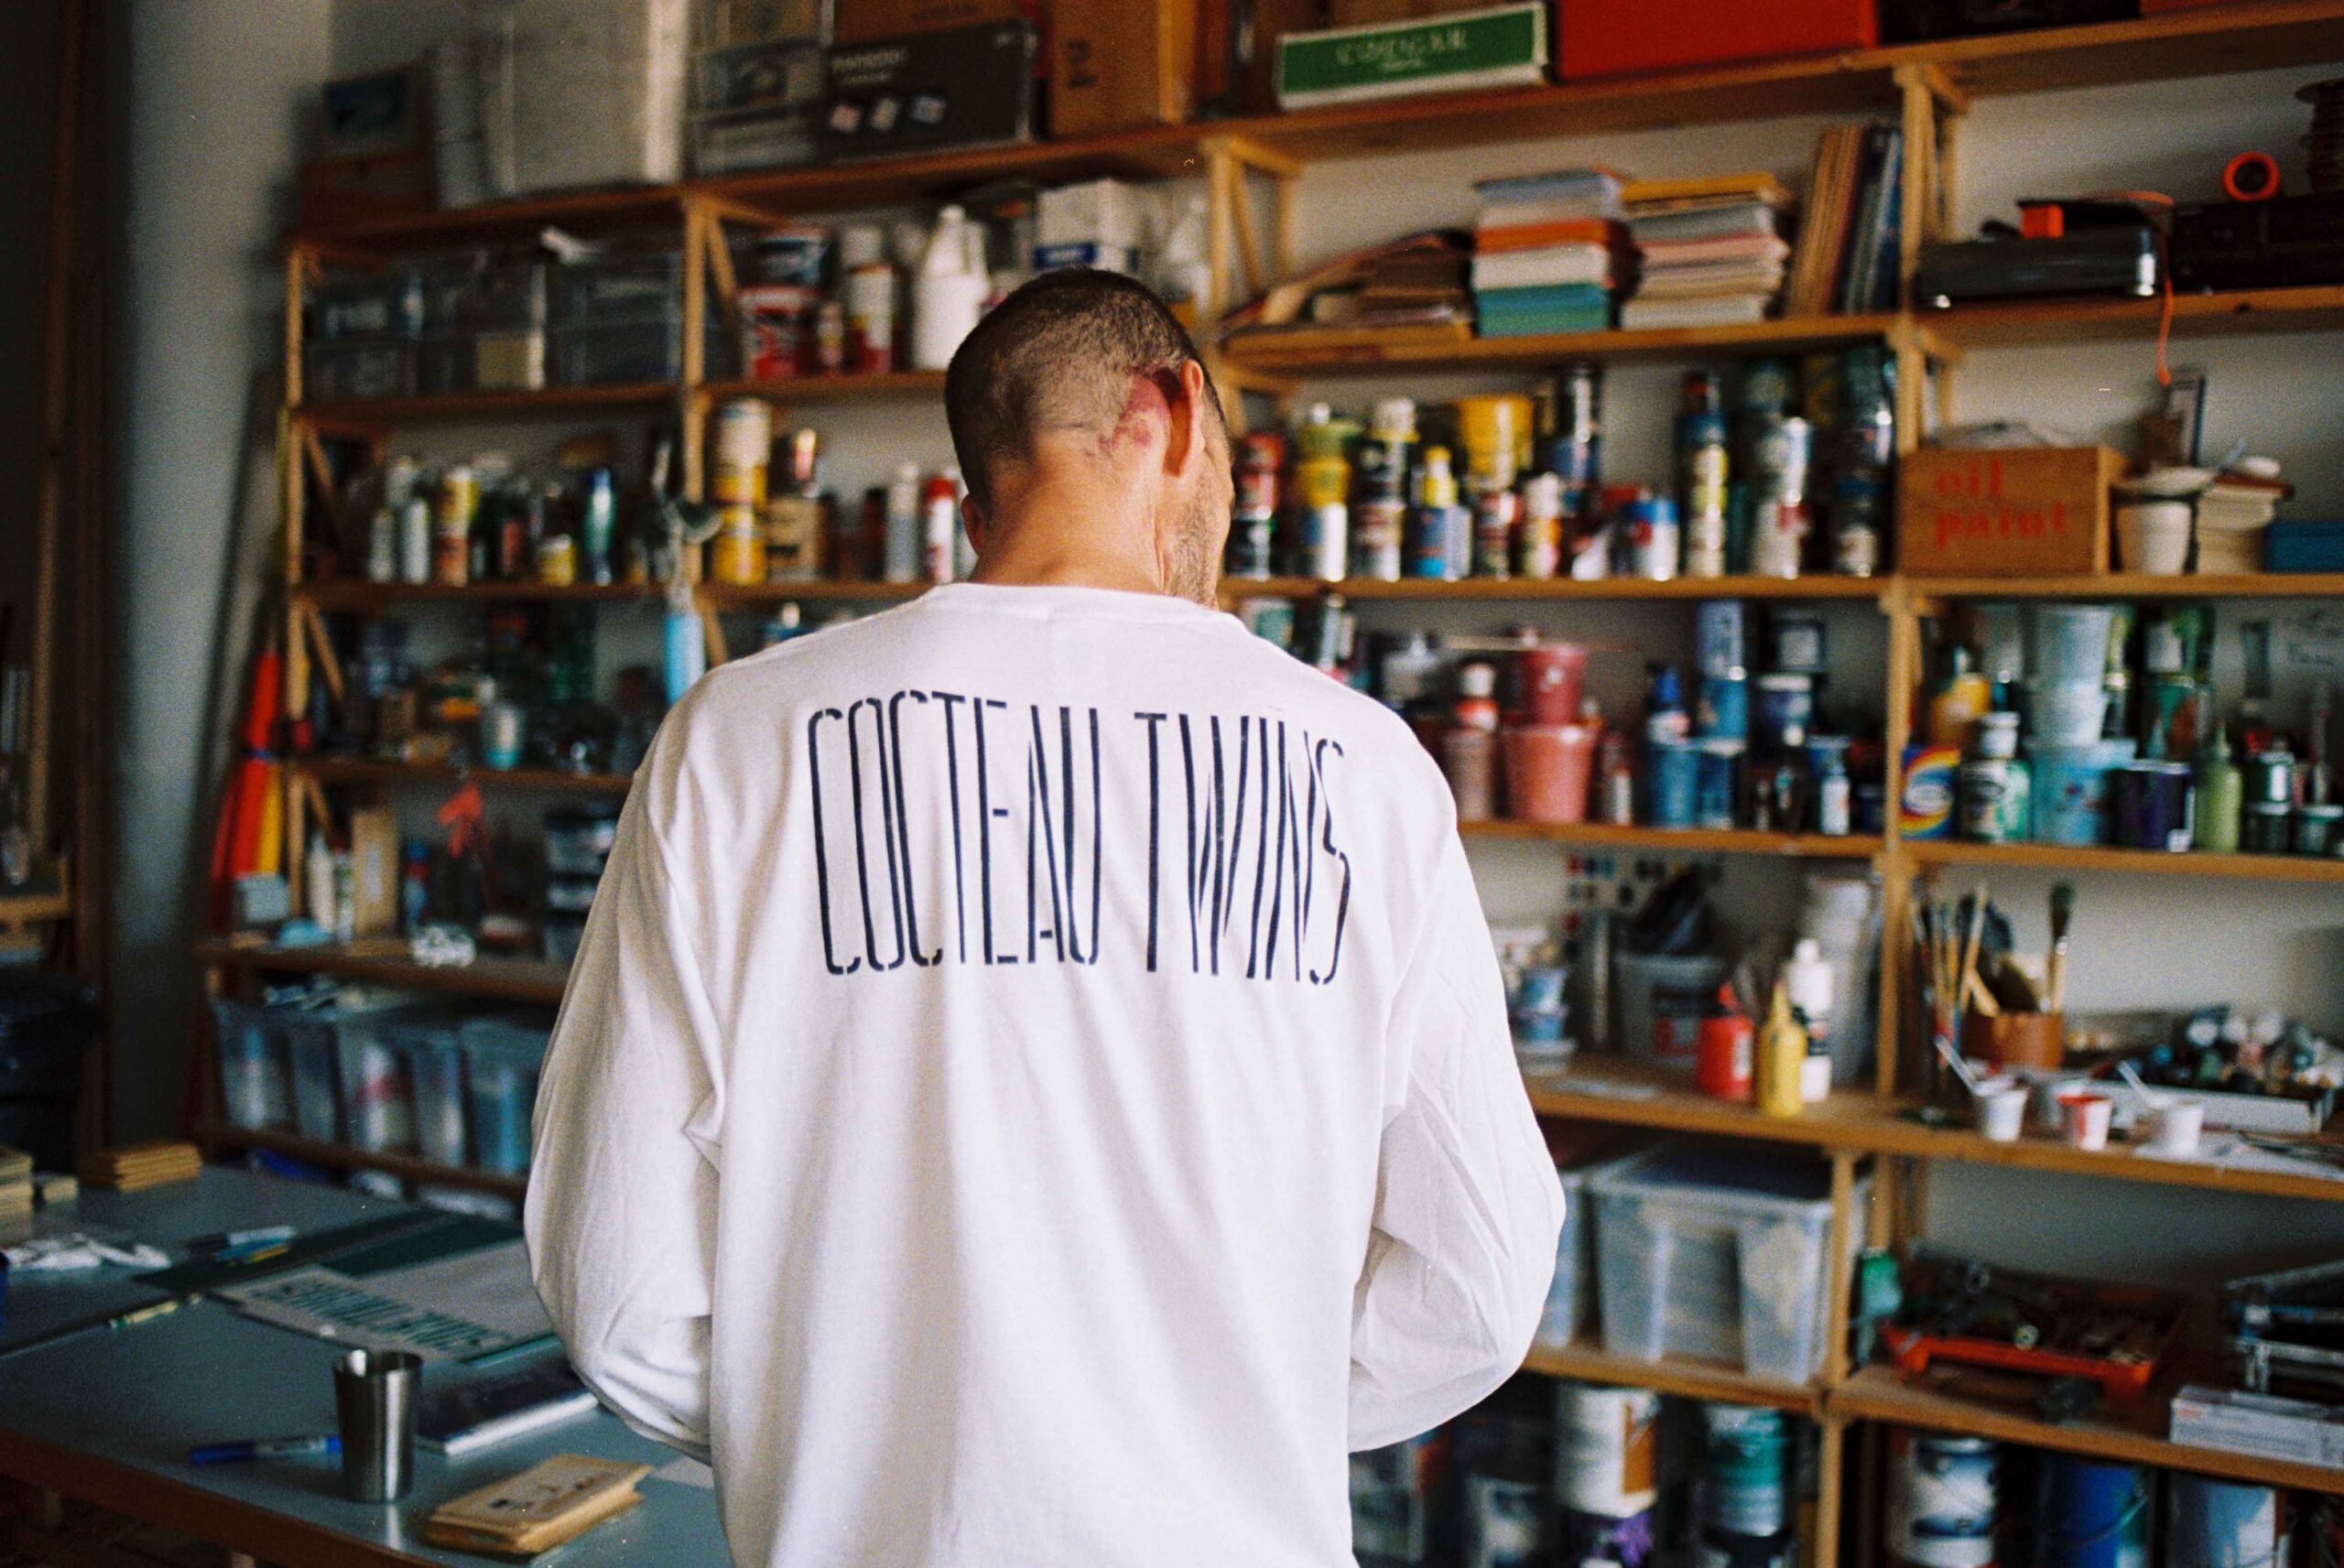
Styles shifted, too. People in the East Village, where I would hang out, were wearing trucker hats and heavy-metal tees – just the look of them was bad to me. I think it was because of this that I started making my own T-shirts to wear. For the first ever one, I used hardware store stencils to form the words “I’m so bored with the USA” on the front and “The Clash” on the back. It was very simple but it did the job. Later, I made tops featuring whomever I listened to, or lyrics that I connected with, or to commend places I liked. I would wear them once or twice and then give them away to friends.
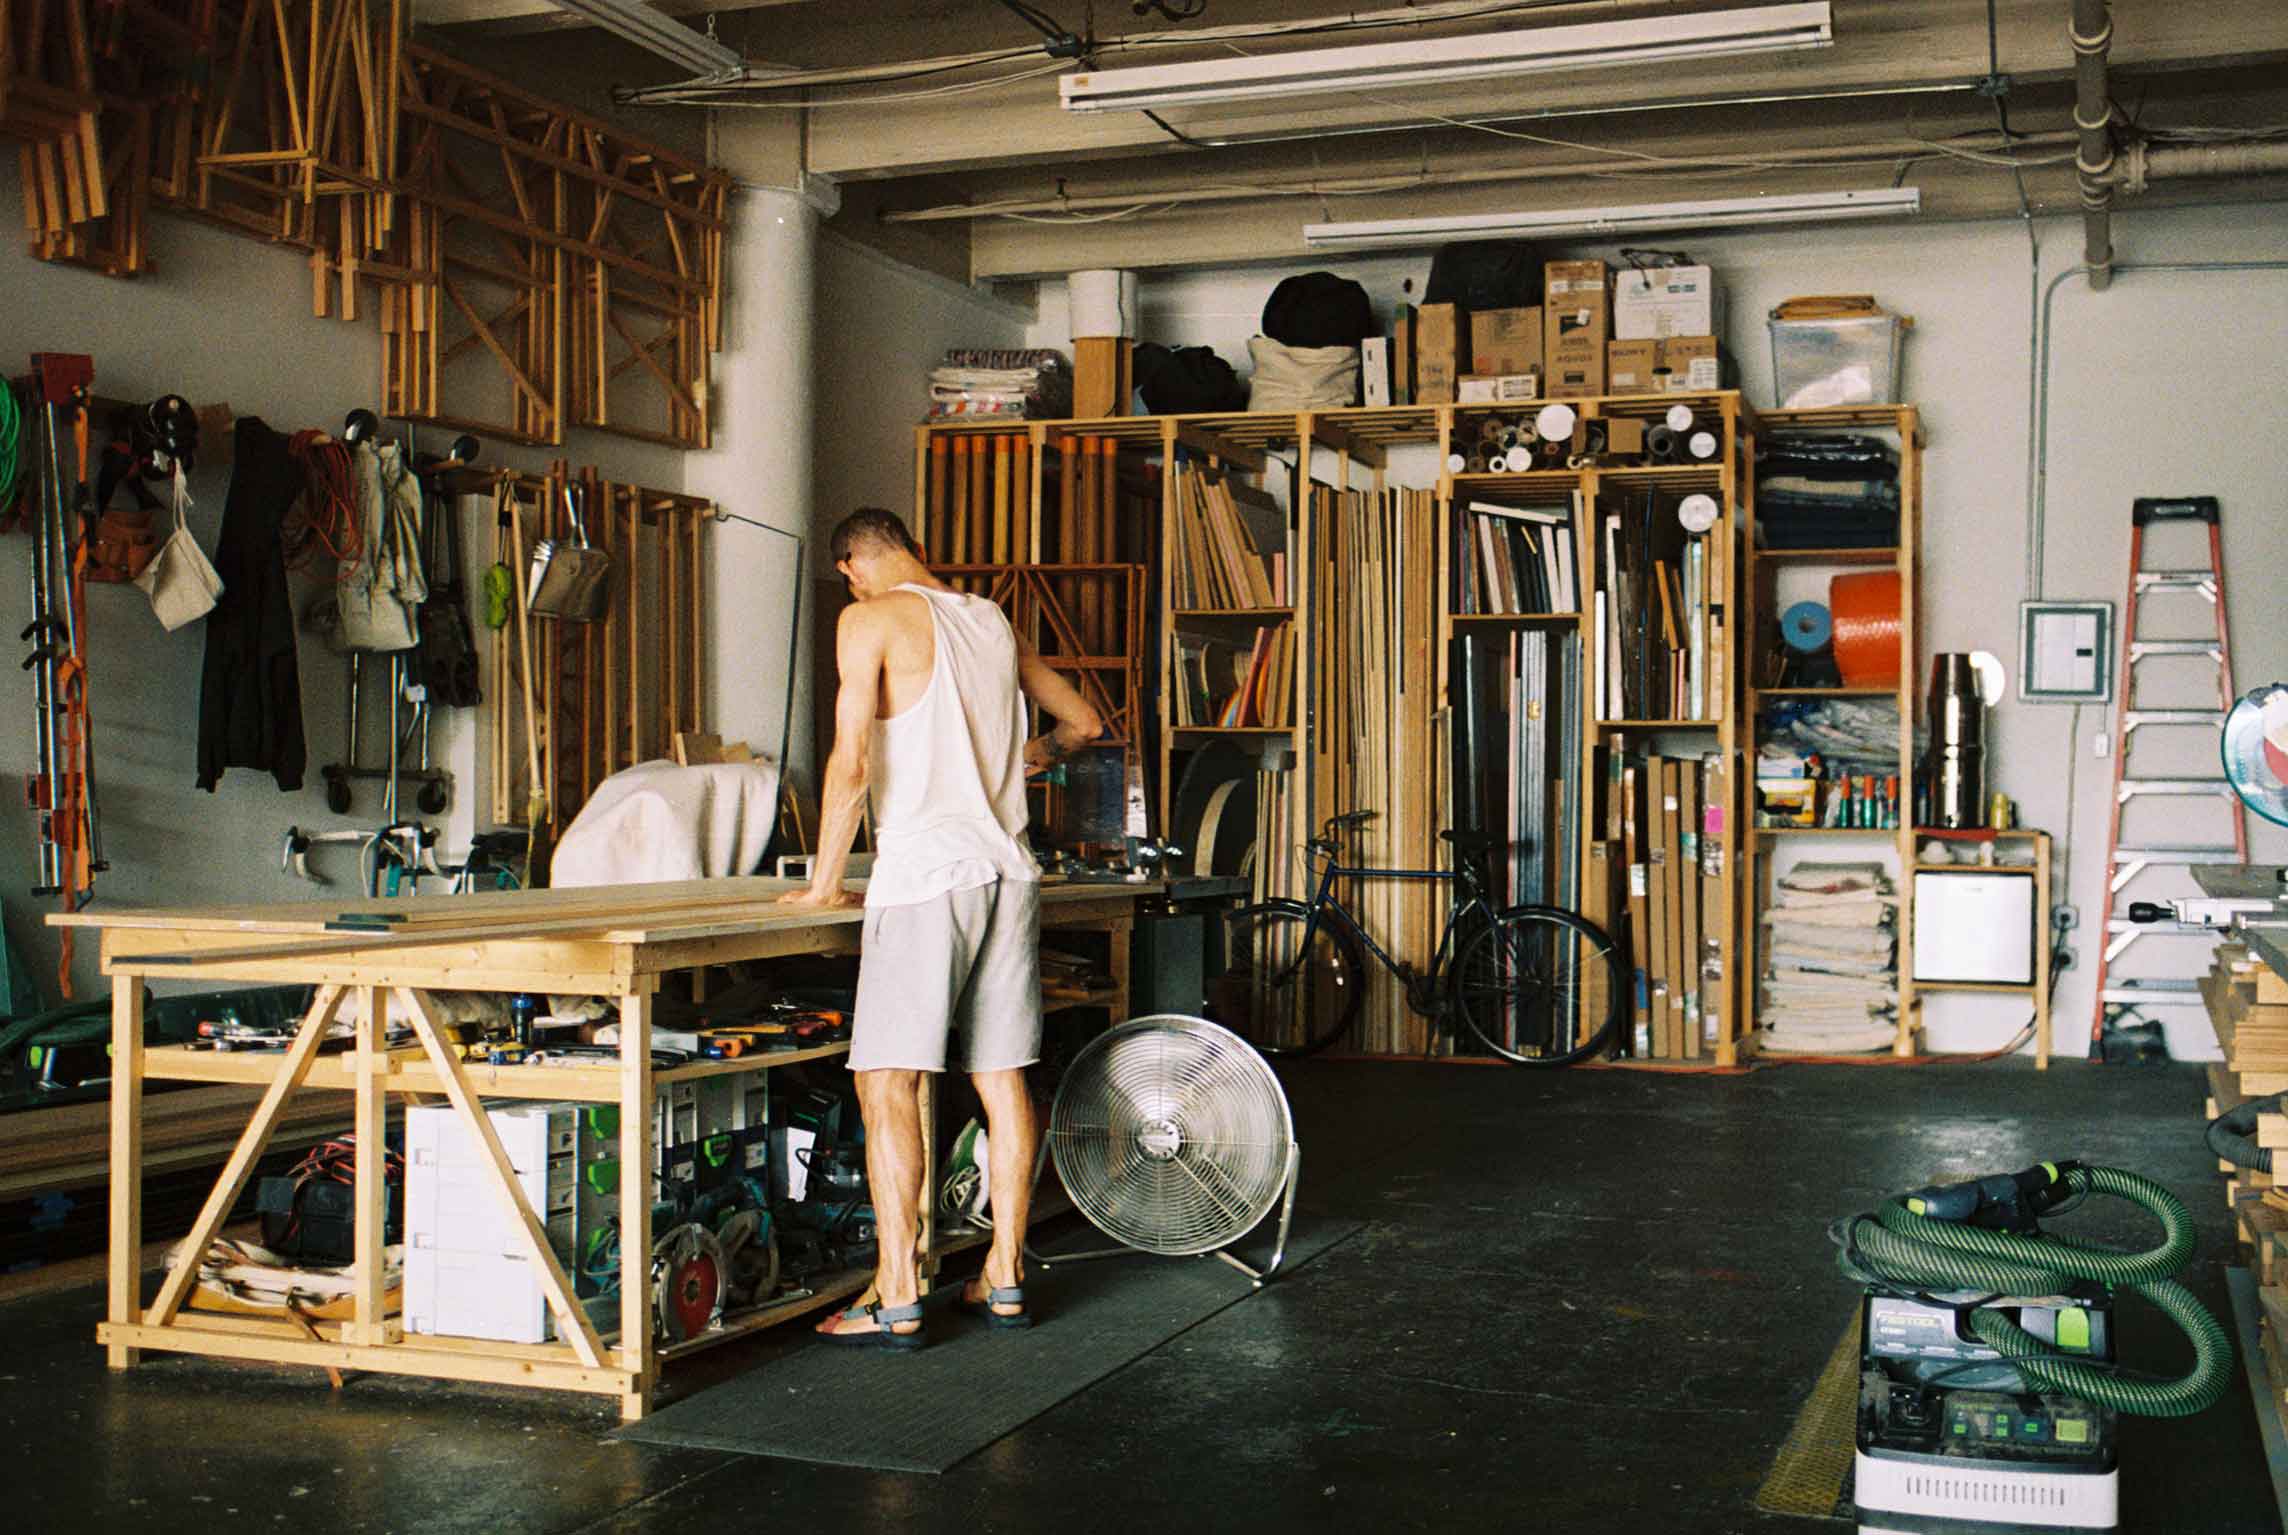
At the same time, I was building things for my apartment and slowly getting into creating furniture for other people, learning how to do it through set builds when I was a still-life photographer. Learning about different tools and how to use them. Painting, sanding and joining something properly. My brother and I really started to do this as soon as we left home. Our father really impressed on us the value of being useful and practical, so we would just figure out how to make things ourselves. Here’s how to do it too.
How to… stencil a T-shirt
“When wearing your finished tee, you are saying what it is saying. It’s not original, it lives and eventually dies, like the person wearing it”
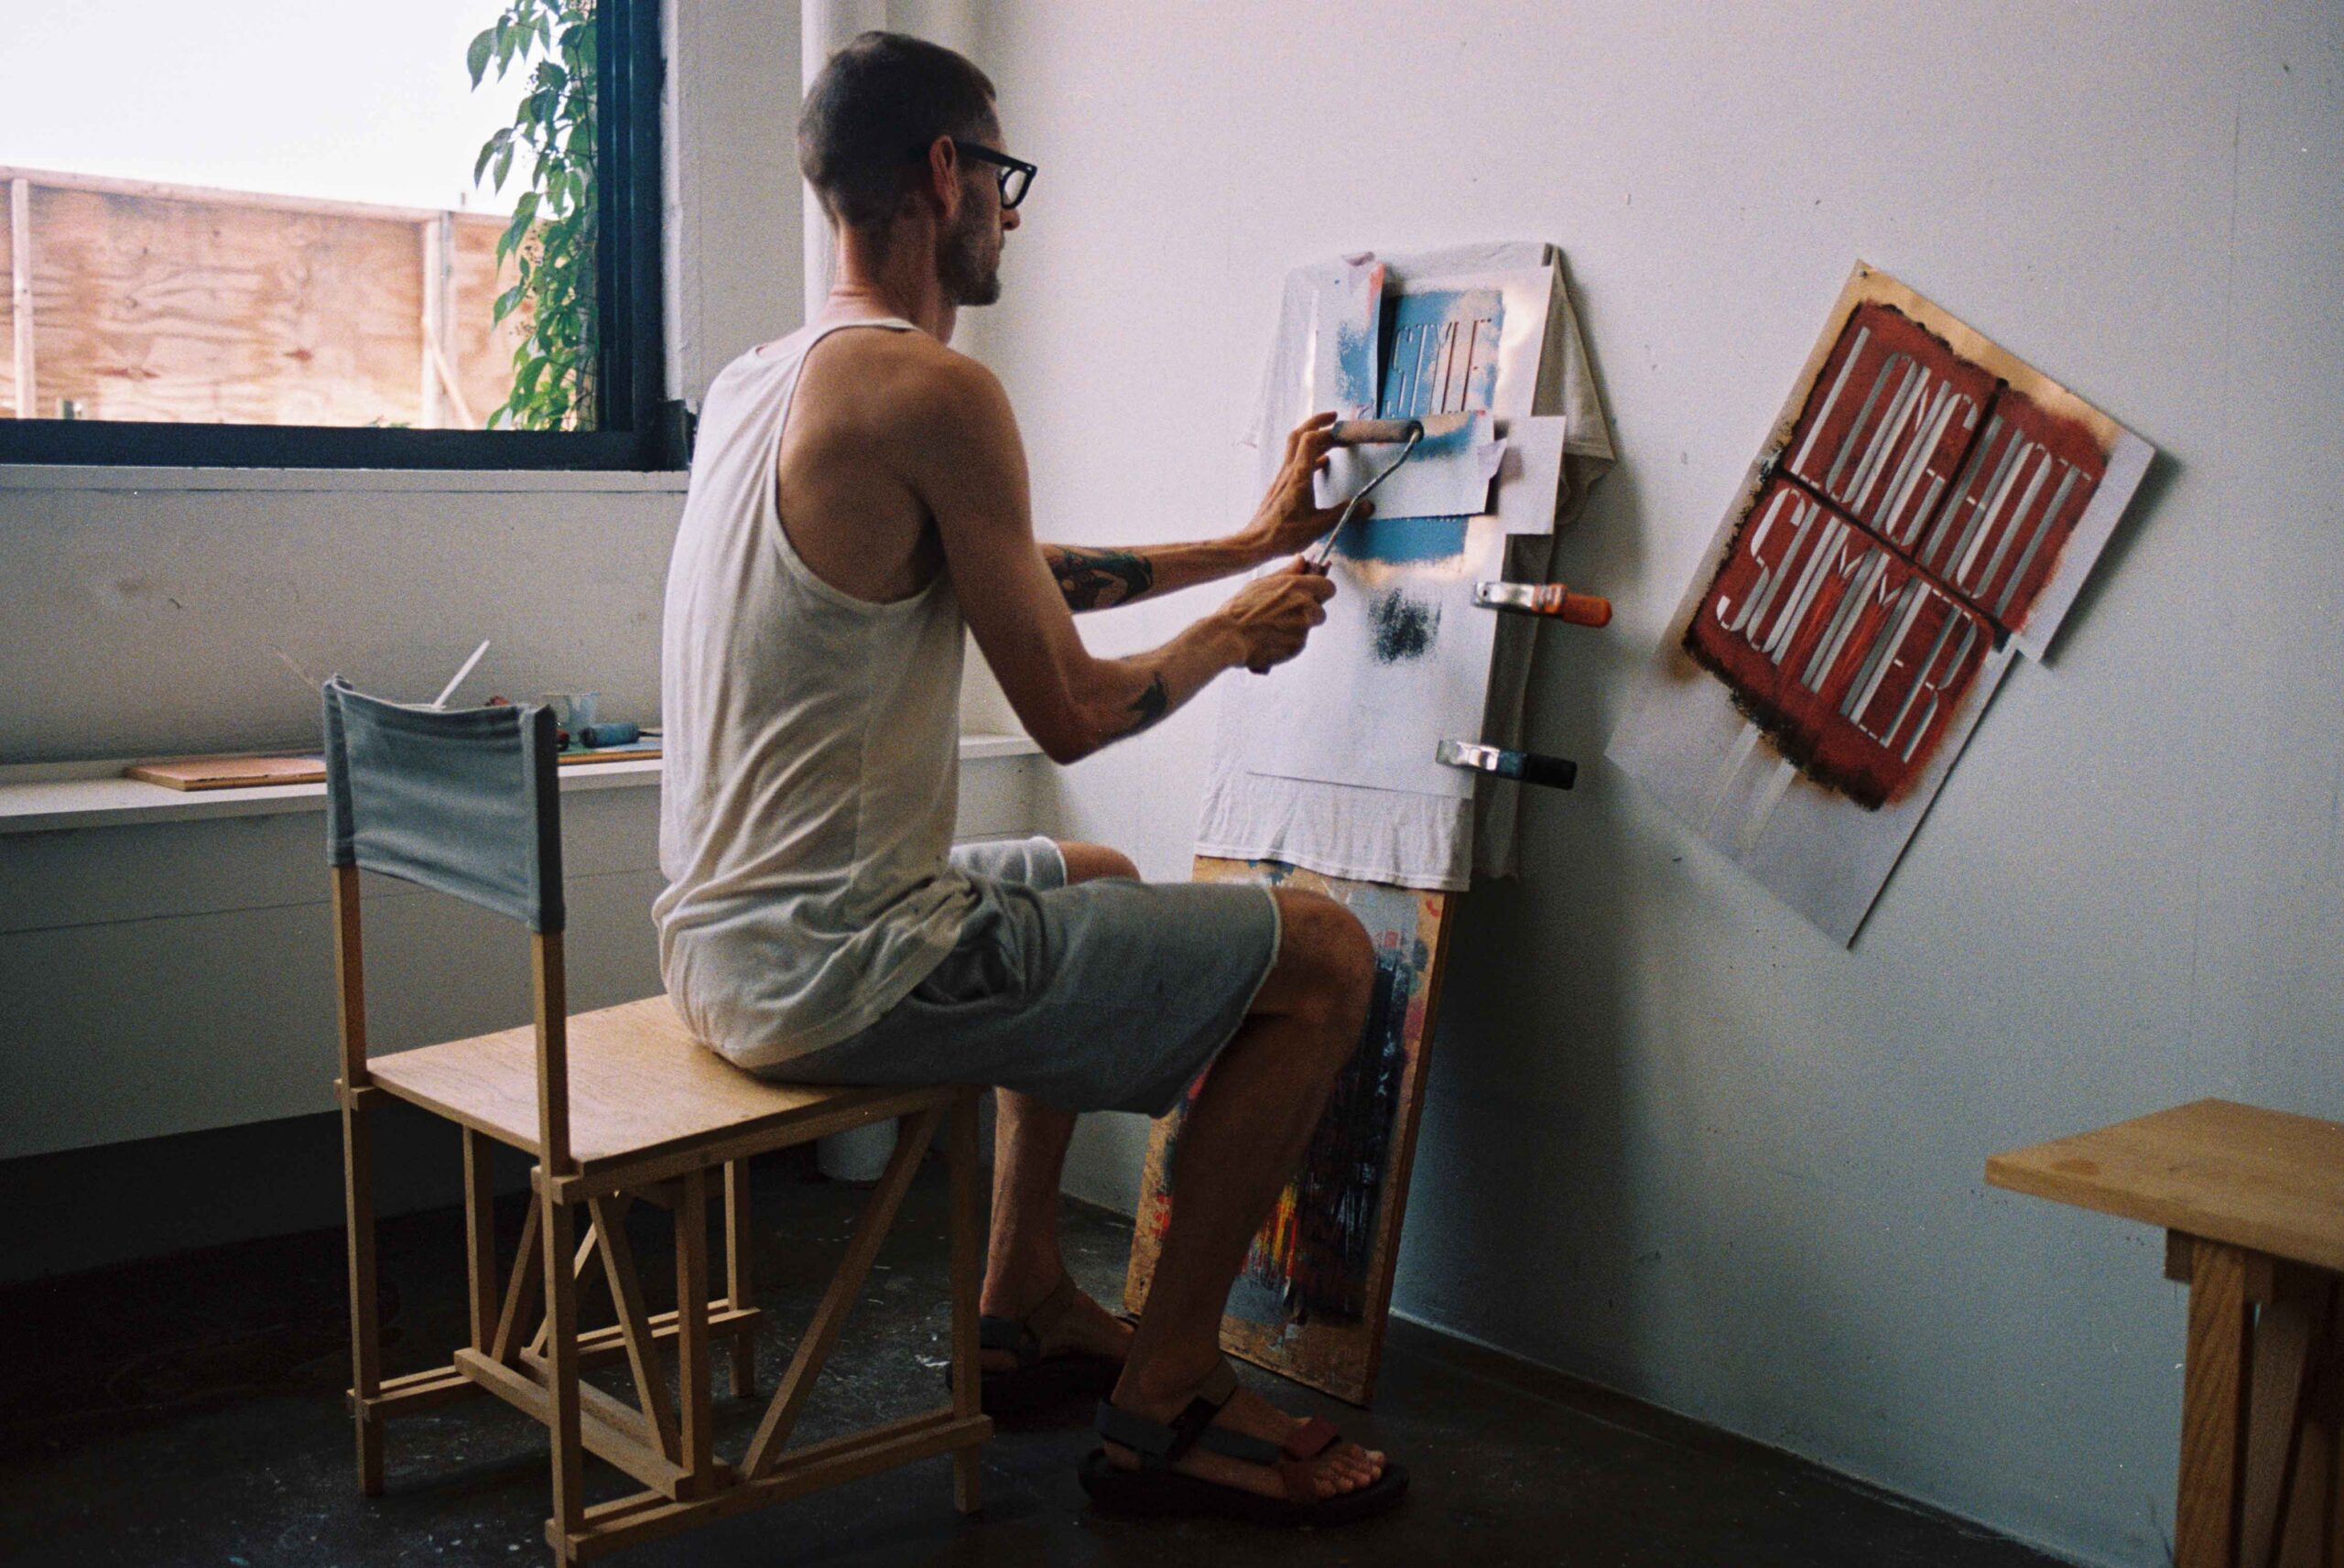 When making a T-shirt, I don’t use silk screens to put the design on the fabric. I make stencils and roll paint on to the shirt or even spray paint directly on to them. This should be a free and expressive task, but there are some essentials to master beforehand. After thinking of what you want to put on a shirt, draw your desired design on thick construction paper – using connective tabs for the empty spaces in the centre of letters like O. Once you’ve cut out your stencil, spray the entire thing with enamel paint to give it a plastic coating – a waterproof finish ensures it won’t warp with use. Before applying the wet colour, put something inside the T-shirt so that the paint won’t bleed through to the back. I use some more construction paper, with the piece of clothing leaning on a plank of wood. Arrange your stencil on the shirt where you’d like it and clamp it in place while you roll the paint over the stencil. Make sure the paint isn’t too thick to roll, or too thin so it bleeds. Try to not have too much paint on the roller; build up layers of colour slowly. It takes a couple of times to figure out what works best. I don’t mind if it looks DIY, usually it looks better to me. When wearing your finished tee, you are saying what it is saying; people aren’t critical about it like they are of art. It’s not original, it lives and eventually dies, like the person wearing it. It is also something that you can make some money with. There have been times when I have raised urgent funds by making shirts and selling them. Once in Toronto, I made stencils out of courier envelopes, bought inexpensive T-shirts and went store to store selling them, making enough for a train ticket back to New York.
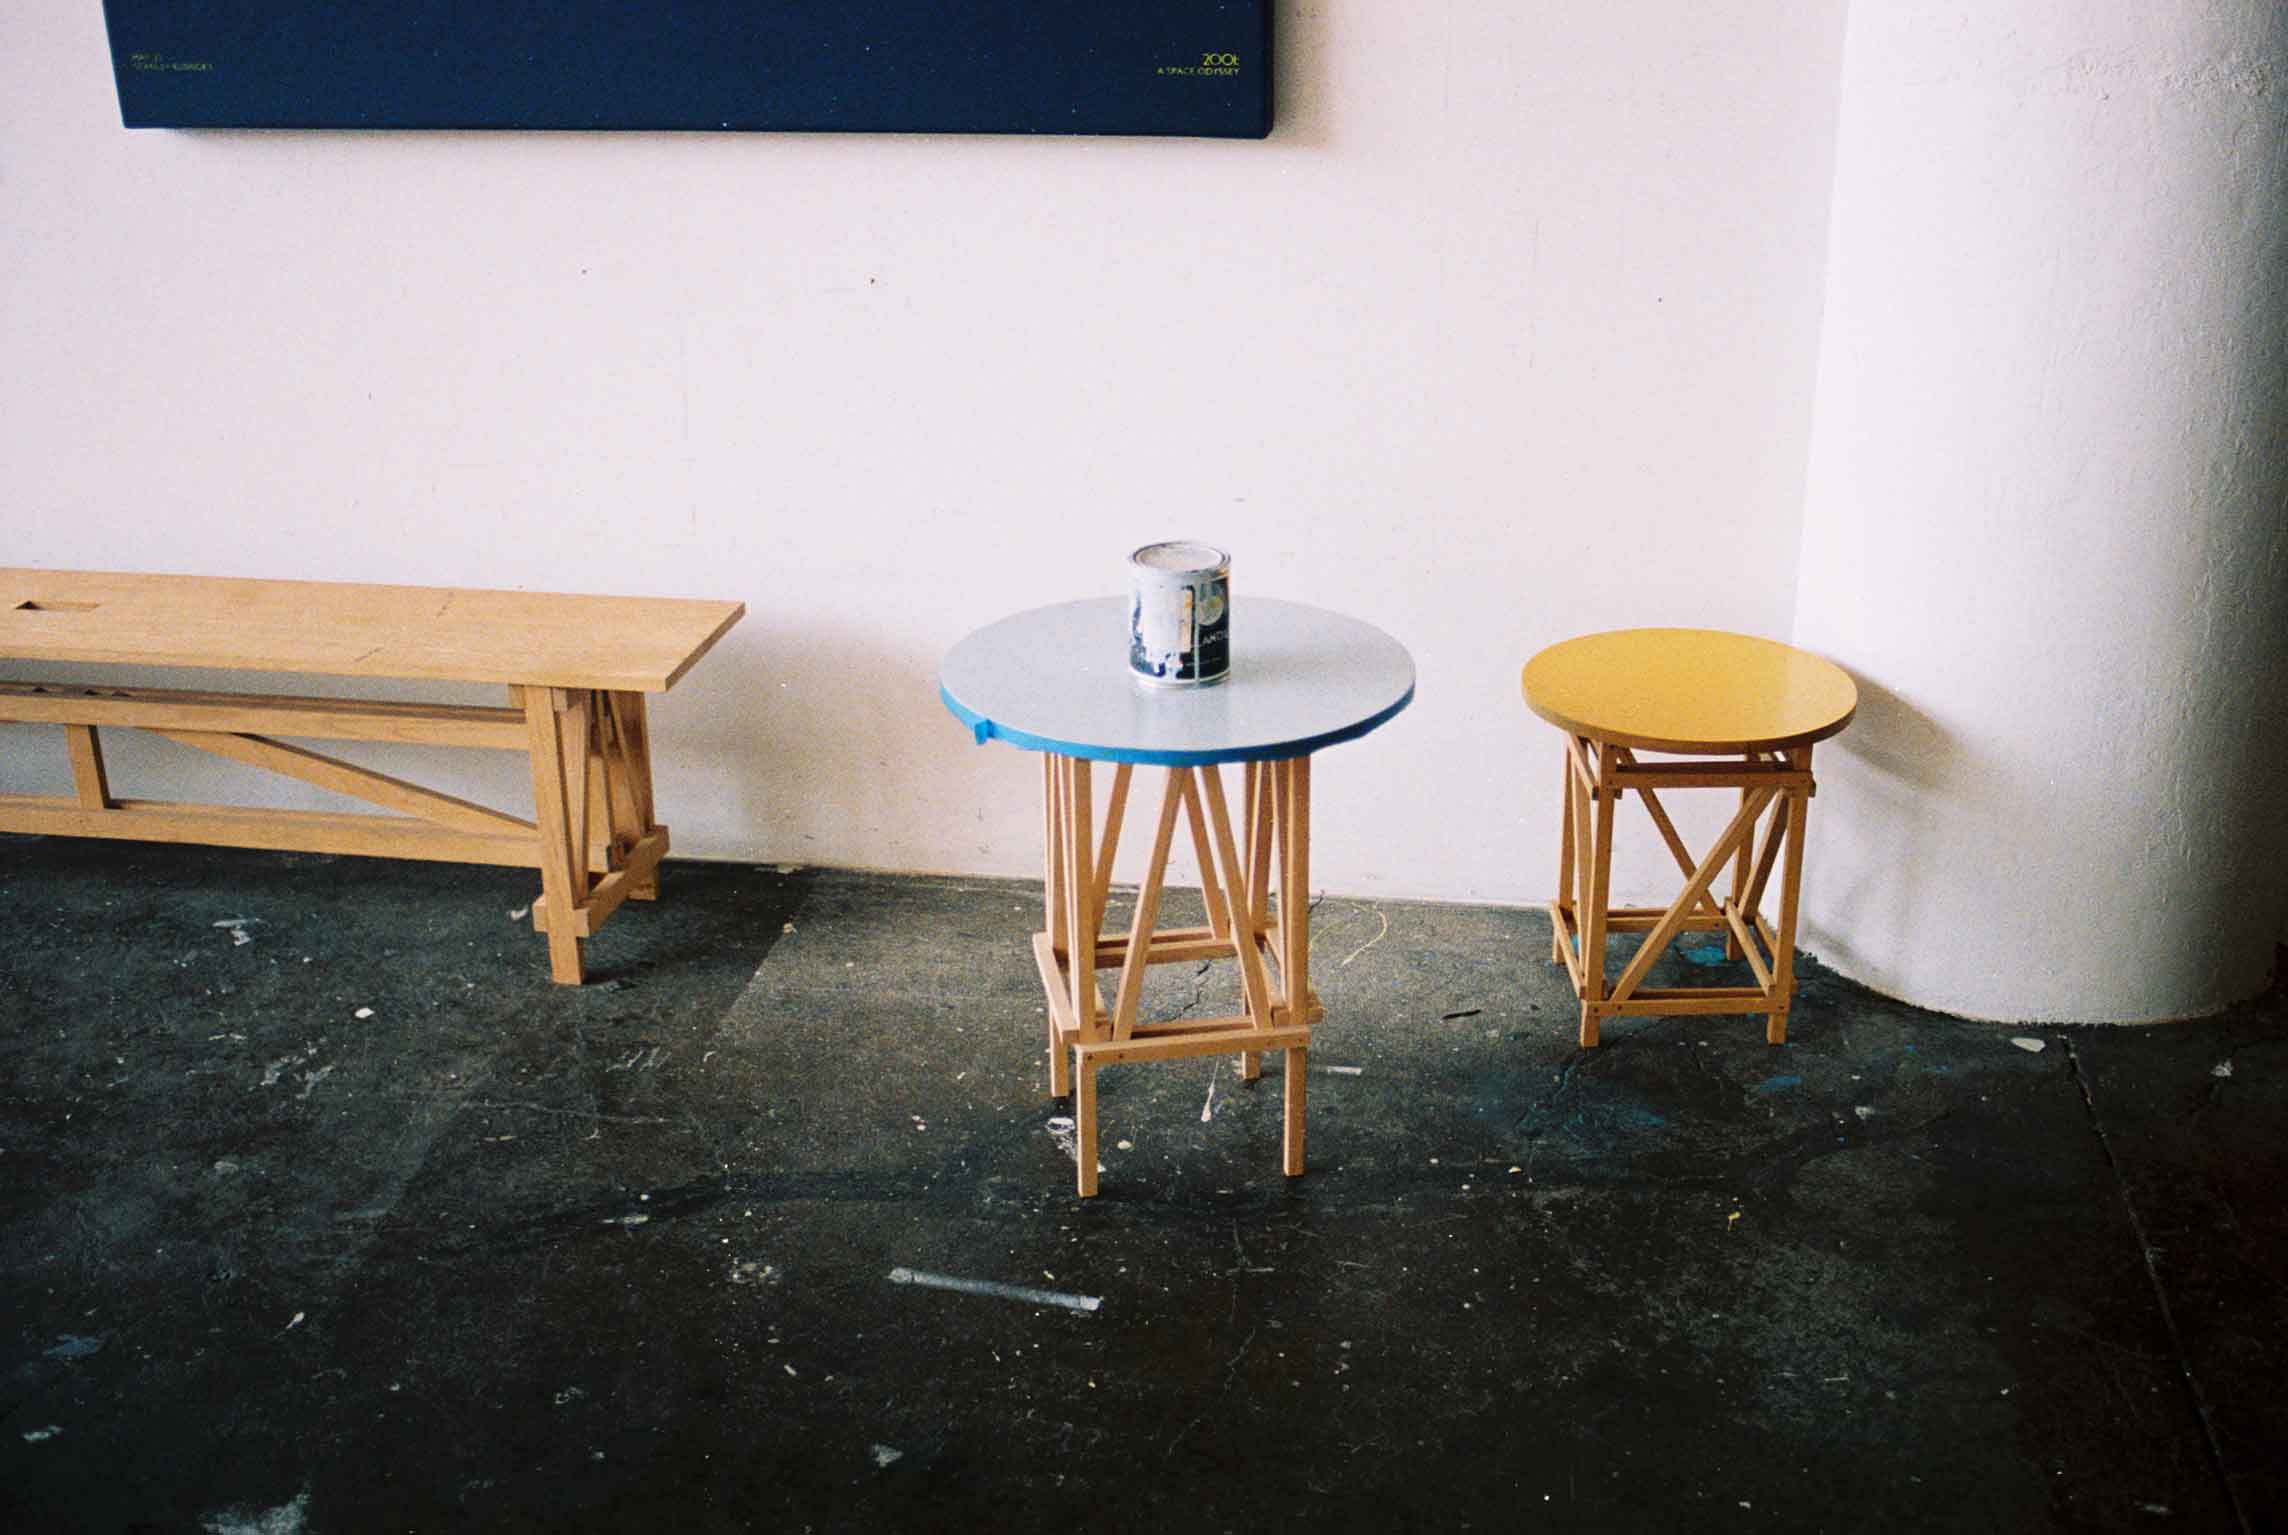
How to… make a wooden furniture piece
“If a chair or table doesn’t work then it’s a failure, as opposed to art, where you don’t know if it works”

I started building things out of wood for my apartment. My brother and I built shelves that eventually fell apart and need to be rebuilt. Each time we learnt to make them better, stronger and longer-lasting. I would try do as little sawing as possible – not having a woodshop to fabricate things in, the wood dust would go everywhere in my flat. For years, I would build things for people I knew. Carrying things upstairs to build in friend’s apartments for them, taking away something that was already there as part of the payment. A lot of small jobs and a lot of work. This side hustle kept me living cheque to cheque without being able to save too much. I live in New York for the social life – it costs. The furniture was a way for me to sell a usable design object for more than custom carpentry.
The thing I like about making furniture and making art is that furniture has a function. If the chair or table doesn’t work then it’s a failure, as opposed to art, where you don’t know if it works or even if it will sell or not. It makes me want to try to make art that does what I want it to.
The first table I made was for my kitchen. It didn’t take long to build. It’s usually more work to get the wood and transport it. For the furniture I’ve been making recently, I buy commonly available dimensions of wood found at any lumber yard or hardware store: ¾in x ¾in, 1½in x 1½in for most of the supports. Cutting down wider planks into smaller dimensions makes them go further. Angled struts of wood tie together and strengthen leg joints, alternatively you could just use a large flat piece of wood like with Donald Judd furniture. I use dowels to join them reinforced with wood glue. Three wide wooden planks of wood make up the top finished with a lick of oil enamel, buffed to a shine.
Please purchase our print edition here